August 12, 2019
Point of clarification – the singular of pierogi is pieróg; the plural of pierogi is pierogi, not pierogis. I’ve been using the terms all wrong since I stepped foot in Poland. Sorry Poland, I meant no disrespect. OK, now on with the day.
Since I’ve been on a bit of run with dumplings, I thought I should learn how to make pierogi, Poland’s version of dumplings and traditional comfort food. Based on reviews on the Internet, I contacted Marysia at Pierogi & More and set up a class for this morning.
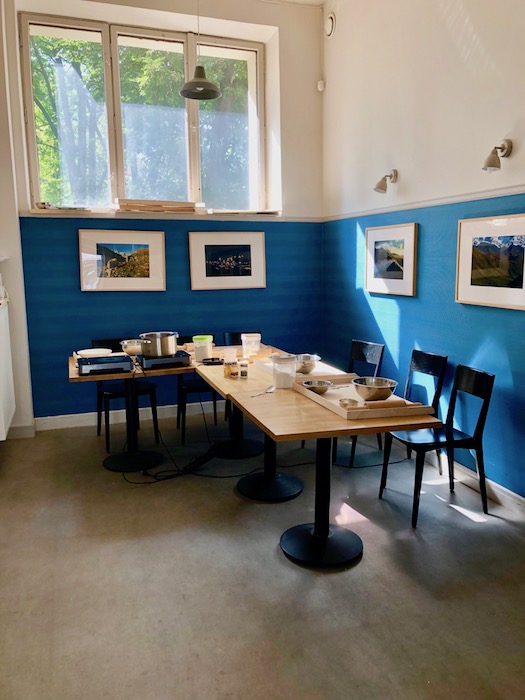
I met Marysia at her restaurant, Przystawki, located at Stawki 3, Warsaw. A young woman from South Korea joined us in our culinary adventure. It was a small class, but that meant we had lots of space to spread out in the back room.
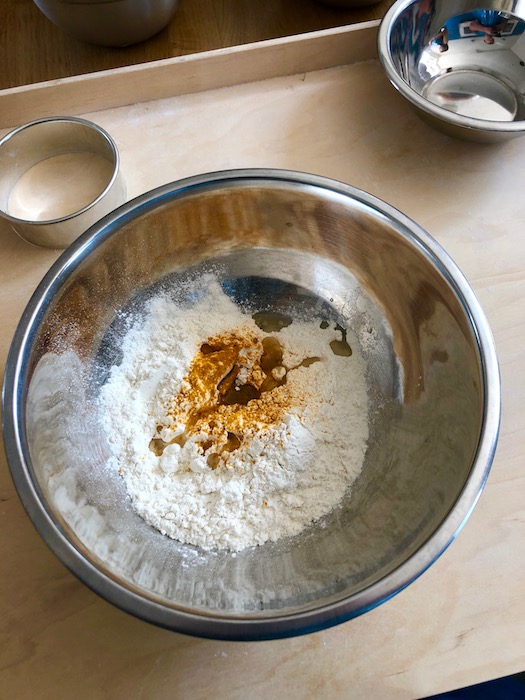
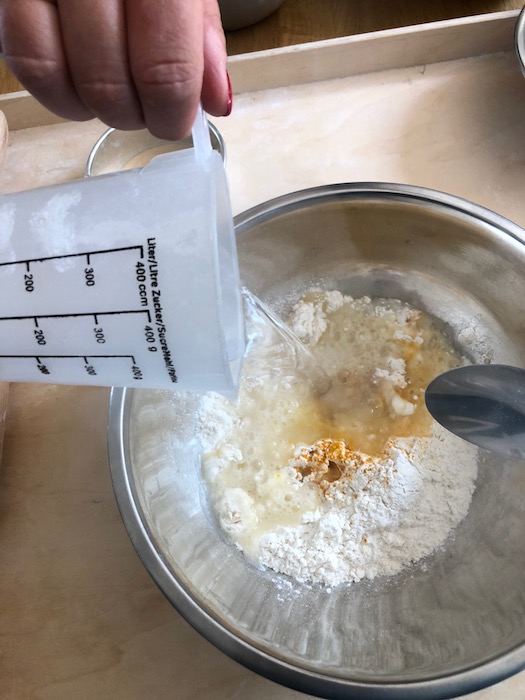
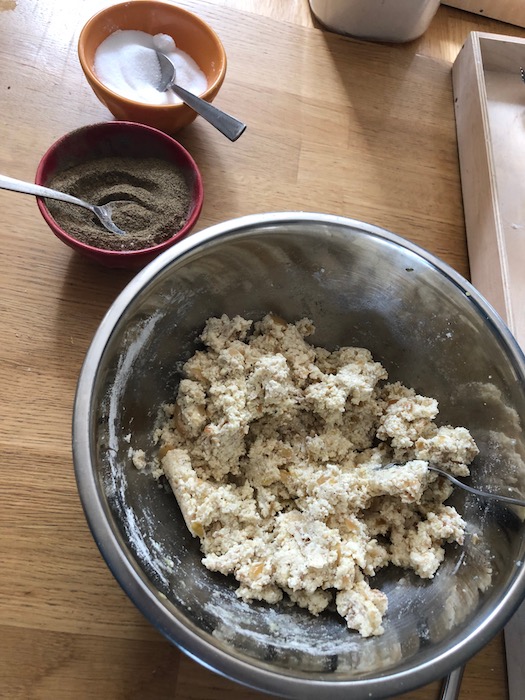
We started with the dough – mixing flour, boiling water, vegetable oil, and a pinch of water in a bowl. Since we wanted to be able to distinguish the pierogi once we were done, I colored my dough with a bit of turmeric to turn it yellow(ish).
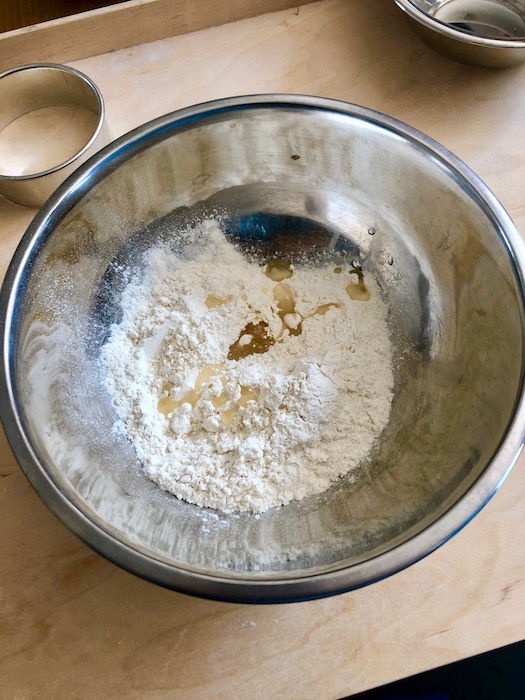
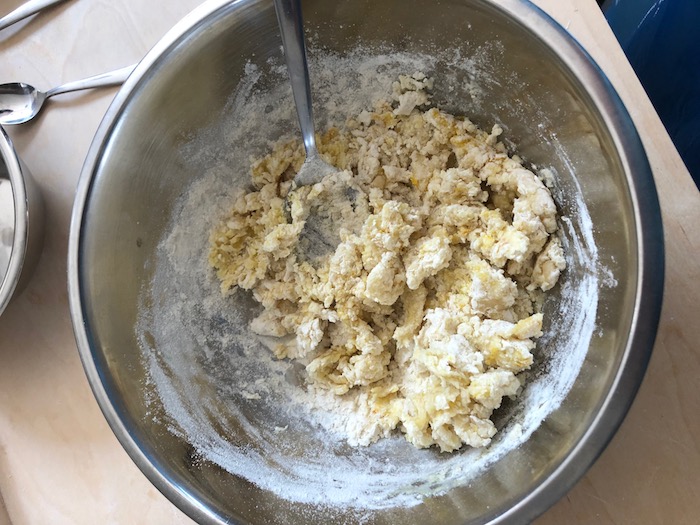
Once everything was combined and could be turned out on the floured board, we started kneading and kneading and kneading. Apparently, you can’t over knead the dough. Once we each had a ball of pliable cohesive dough, we placed them under overturned bowls to rest. It was filling-making time.

The beauty of pierogi is that you can go to your refrigerator, pull out leftovers and use anything you have as fillings. The skies the limit on what you can put in them. The only thing you can’t put in a pierogi is something with sharp edges that might cut through the dough or something that is hot (heat not spicy) – other than that, there are no limitations. You can make pierogi as an appetizer, a main course, throw them in a soup, or turn them into dessert (amazing filled with berries and topped with whipped cream). They also freeze extremely well.
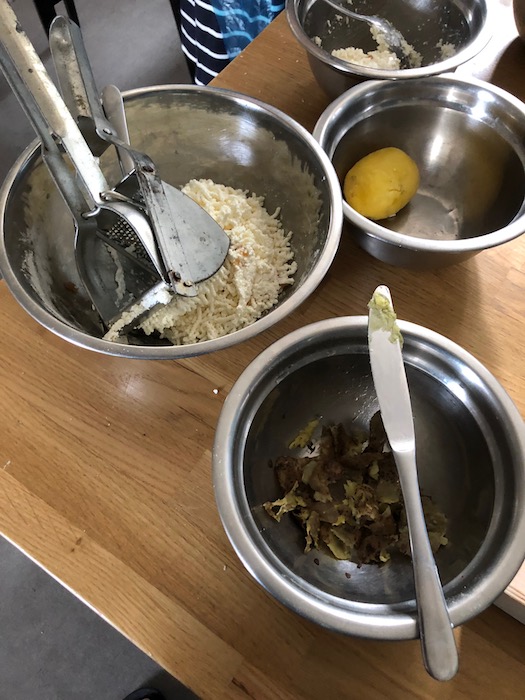
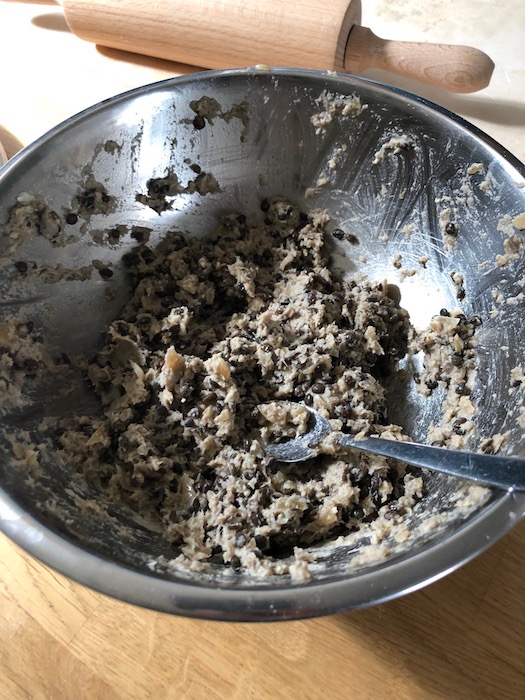
The filling I made was the traditional Ruskie (not Russian, derives from Rus), which is basically mashed potatoes and cottage/curd cheese with caramelized onions and garlic thrown in for extra tastiness. My co-chef’s filling was minced chicken, lentils, spices, and caramelized onion. Once the fillings were mixed and sufficiently mushy, our dough had rested long enough.
I’m not sure which is tougher, rolling out the dough or forming the actual pierogi. When rolling out the dough, you need to make it thin enough so the pierogi aren’t too heavy, but thick enough to keep the filling inside. You also have to keep it from sticking to the board, but not add too much extra flour. I found it to be a delicate balance, which will likely take numerous batches to master.
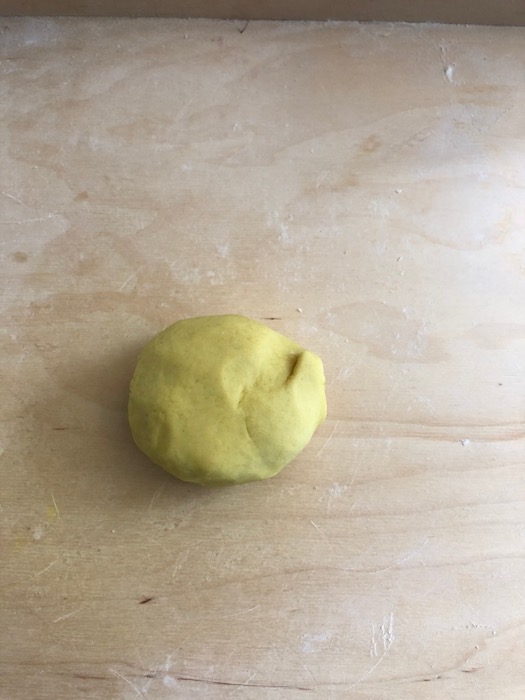
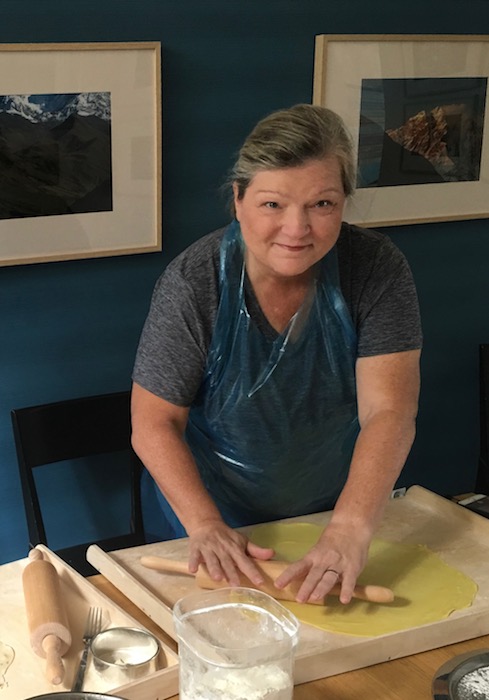
Photo credit: Pierogi & More
Rolled out, the next step was to cut large circles out of the dough with a cutter the diameter of the opening of a large coffee cup. The trick is to cut the circles very close together so as to not waste dough since the scraps are difficult to roll out a second time (too much flour) so they are usually wasted.
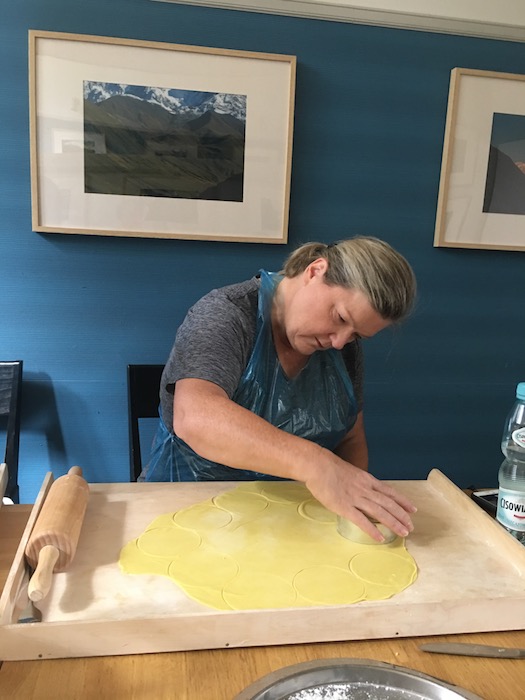
Photo credit: Pierogi & More 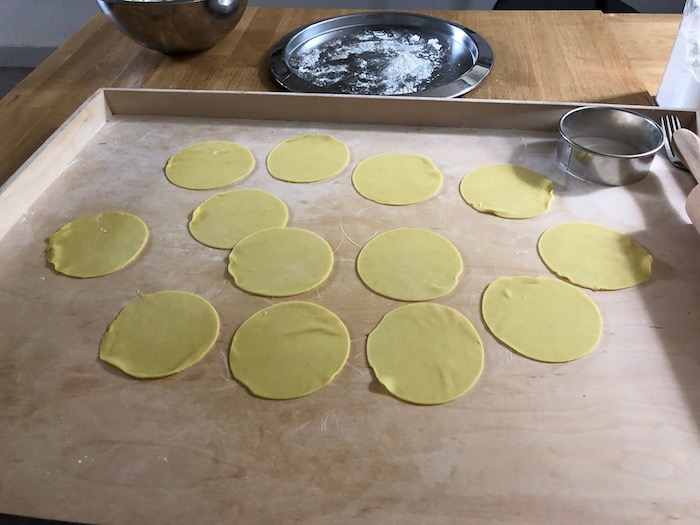
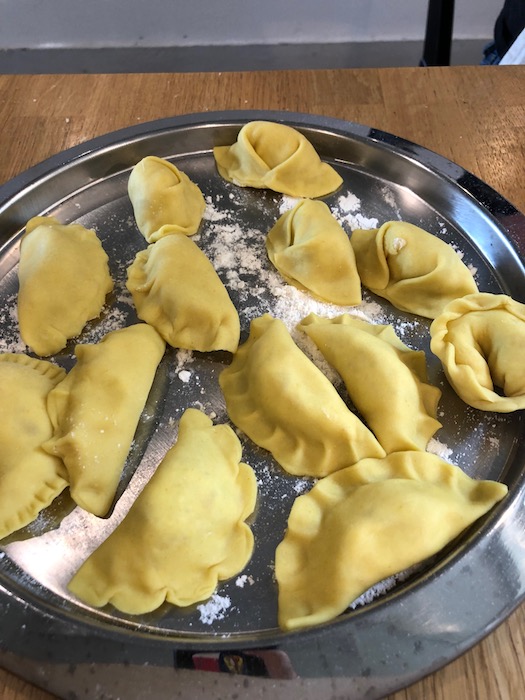
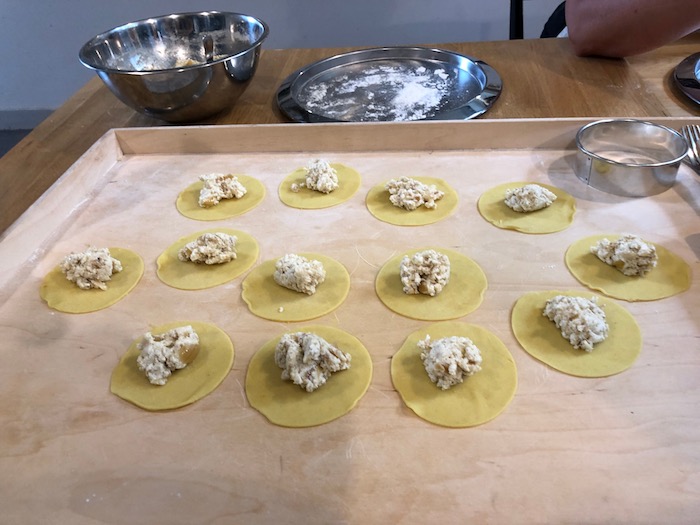
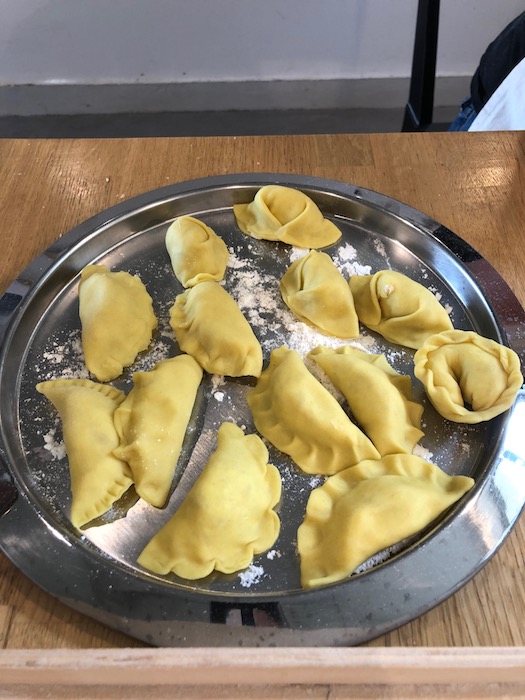
A small teaspoon is used to place a dollop (not too small, not too large) in the center of each round of dough. Then the real work begins. Marysia showed us multiple ways to fold the dough over the filling to make pretty edges. Somehow hers always looked pretty, mine not so much. I perfected the “pinch the edges together enough to keep the filling in” design, but also managed to make a few that almost resembled big tortellini (the design I was actually trying to replicate).
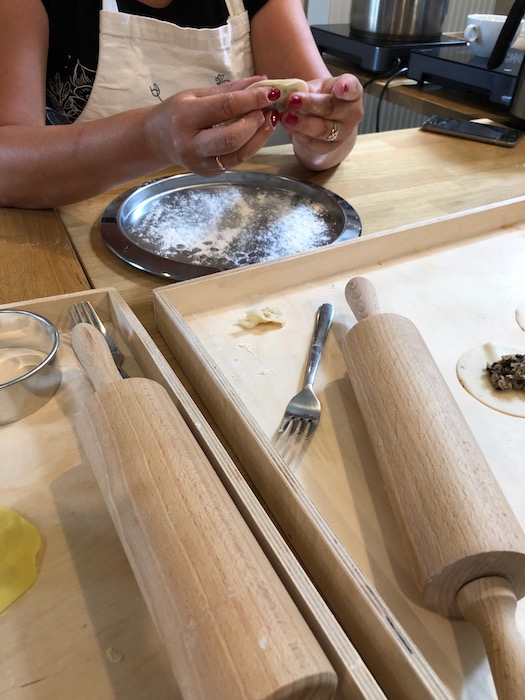
We each had enough dough to repeat the process a few times. Roll, fill, pinch; roll, fill, pinch.
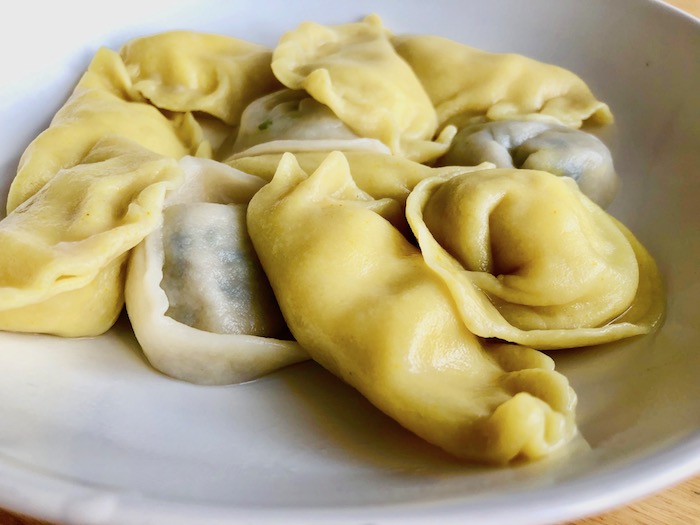
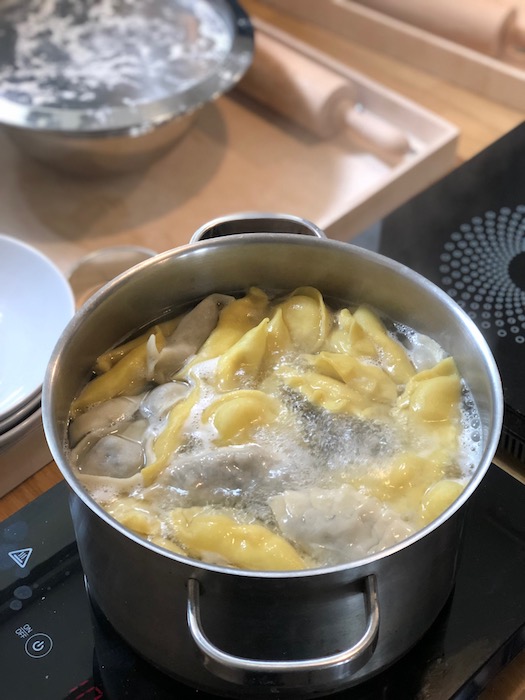
Finally, it was time to cook. The water was brought to a boil, a smidge of salt was added, and then pierogi were slid into the pot. It’s important to lightly stir them so they won’t stick together. When the water resumes boiling, the heat is reduced. When all the pierogi float to the surface, they are cooked for 1-2 minutes more, then scooped out with a slotted spoon – gently, you don’t want them to rip open.
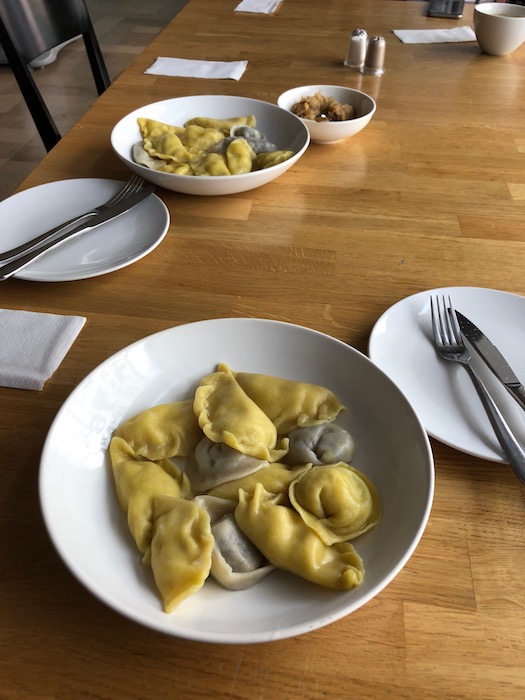
As with the fillings, you can top pierogi with almost anything you want. We served ours with more caramelized onion, but you could team them with minced, cooked veggies, any sauce, herbs, etc. Use your imagination.
Luckily, my co-chef and I didn’t have to do the dishes, but we did get to lunch on the pierogi. I even enjoyed the leftovers for dinner. The pierogi were not too heavy, although I couldn’t eat everything on my plate, and extremely tasty. We did well.
Marysia made learning how to make pierogi fun and, I think, repeatable. I definitely recommend spending a morning or an evening with her in the kitchen. Yes, I will be trying to replicate the recipes at home. Does anyone want to volunteer as a taste tester?